Sewing Machine Mat
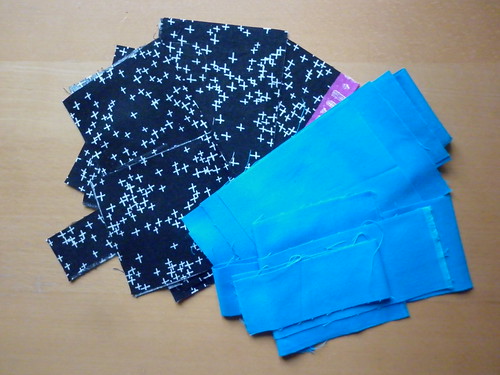
In October 2015, I made a trug to keep bits and pieces in (it's really handy if you're taking a project to someone's house/a workshop as you can fit lots in it!) and in the following months, I made a rotary cutter pouch, a needle book, a scissor holder and a Lola pouch from the leftovers (I started with a yard of the black and white print and a metre of the turquoise solid). That left this little lot:
I decided that I'd make a mat for my sewing machine to sit on when it's on the table, as it's a bit awkward to push away from/pull towards me when I'm working. And it would be a handy place to stick the odd pin or place a reel of thread on and not have it roll off the edge of the table. As you can see, there's not an awful lot left, particularly not in large pieces, so I decided to add some bright pink solid (to reflect the pink trim on the inside of the trug and the pink quilting and pandas on the pouch) and the remnants of orange sketch I had left from making the Lola pouch.
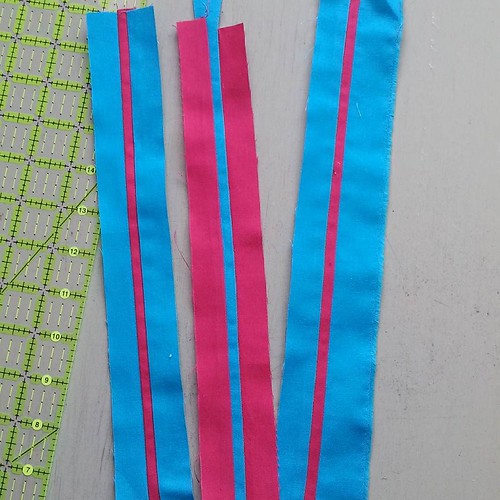
As I'd recently published my 2016 FAL tutorial for adding accurate narrow strips, I decided to use that technique to make some pink/turquoise strips for insertion, which would bulk out the pieces and make it a bit more interesting to look at/make.
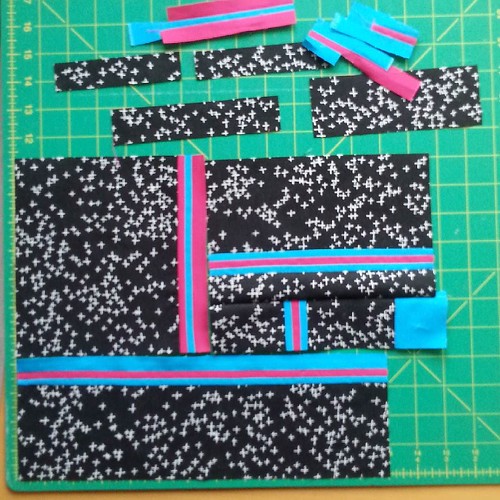
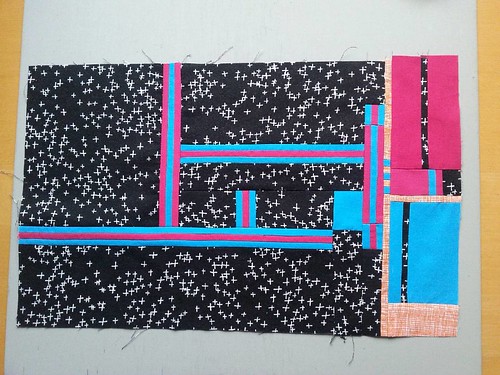
I then sorted the scraps of black and white and trimmed the largest pieces square, and then tried to work out how I was going to join them together to make a large enough mat. I knew I wanted it to end up around 11" x 18", so used the grid side of my board to lay everything out and keep an eye on the size:
In the end, I had to add larger pieces of the pink and turquoise solid to one side, with the tiny bits of orange I had to act as joining strips:
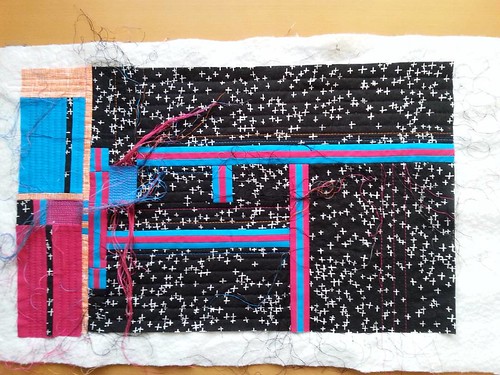
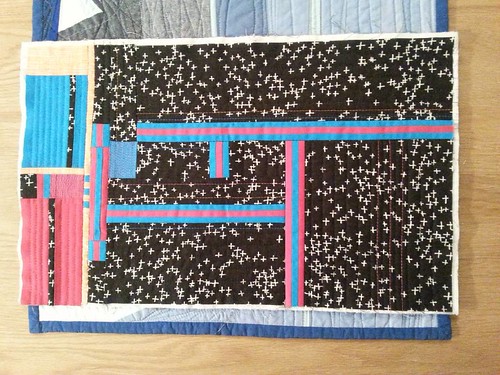
For some reason, I decided that I'd quilt lots of straight lines in matching thread, with the odd line of contrasting for interest in those larger black areas:
It looked a lot better once all 142 ends were darned in and I'd trimmed the excess wadding!
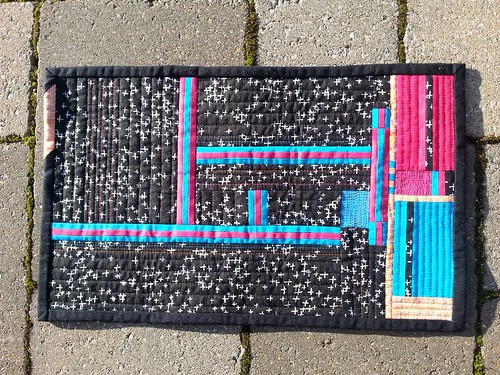
Then there was just the binding left to do. I decided that it needed some orange inserted in it to give it some balance and brightness on that side, and had just enough left!
All that was left to do then was decide which way up it went for the photo! It measures 11" x 18" (yeah!) and is the perfect size for under my machine. And, best of all, I made it all from scraps, including the wadding!
As it's the end of the quarter, it's time to link up to the 2017 Q1 Finish-Along finishes link up. My Q1 FAL list can be found here and this post is about item 19.
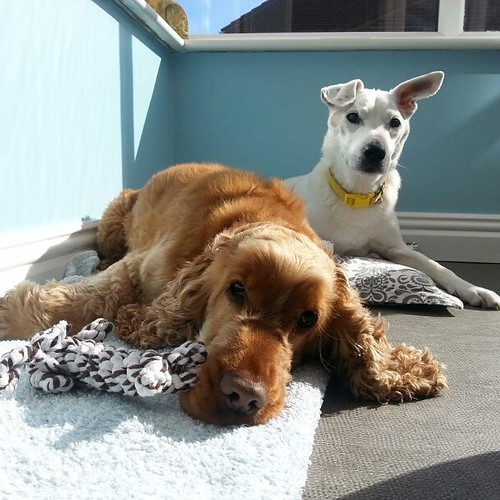 |
| It's lovely that the weather is starting to be nice enough for me to come and visit my favourite wall. And isn't it nice of me to share it with Eddie? |
Beautiful mat for your sewing machine, Helen! I used long time just white table cloth from our earlier restaurant and then finally realized that I could put there one place mat, made long time ago. Your puppies are all about ears there! they are both so cute! x Teje
ReplyDeleteCute mat. Archie sharing his sunbeam is so cute.
ReplyDeleteThank you! I can't find an email address to reply to you, so I hope you see this!
DeleteIt's a brilliant Q1 finish! Though I don't envy you sewing in all those thread ends! Jxo
ReplyDeleteThat's a fun scrappy project! I love the colour combination.
ReplyDeleteWhat a great finish! Very inventive, and useful and pretty all at the same time.
ReplyDeleteHello boys! Enjoying the Spring sunshine?
That is a lovely mat. I'm glad Archie and Eddie are enjoying the sunshine. Happy Easter to you all :)
ReplyDeleteThat's a really clever idea, a push me pull me mat. And I love all the teeny tiny stripes in it.
ReplyDeleteYour improv design reminds me a bit of roads leading to houses, and it's such a great way to use up every bit! *applauds*
ReplyDelete*ear ruffles* to Archie and Eddie.