Kate Dress - The Pinafore Version
Earlier in the year, I bought some lovely navy floral needlecord from a local fabric shop for about £6 a metre and from the outset it was destined to be a pinafore. At that point, I hadn't even finished the toile of the Kate dress (pattern by Sew Me Something) but I already knew that it was going to be a pattern that I would make and make again, with variations to make different dresses but with the same basic pattern.
Once I'd made my toile (see it here) and established the changes I needed to make to the basic pattern to get the fit right, I traced it again (I'm a big fan of keeping the original pattern intact and tracing onto tissue paper - it's a bit of a faff, but I find it works for me) and altered it so that it became a pinafore. Essentially, I lengthened the arm hole so that it came quite a bit lower, narrowed the shoulder a little at both the outside and inside edges, and created a softly curved v neck instead of the round neck. I also drafted the facings.
This is the first time I've made a sleeveless dress, but my good friend B steered me in the right direction and I'm pleased to say it's finished! I've shown lots of progress photos along the way, but bear with me while I put them here, for future reference!
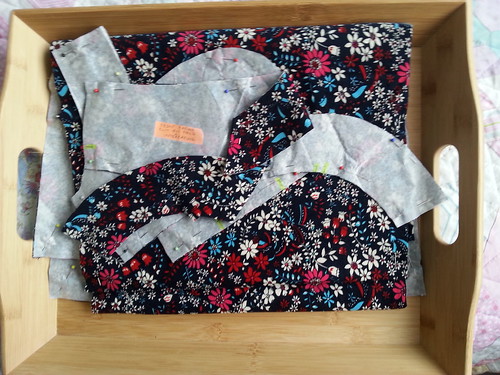
At the start of this quarter, when I added it to my Q4 FAL list (item 28), it looked like this:
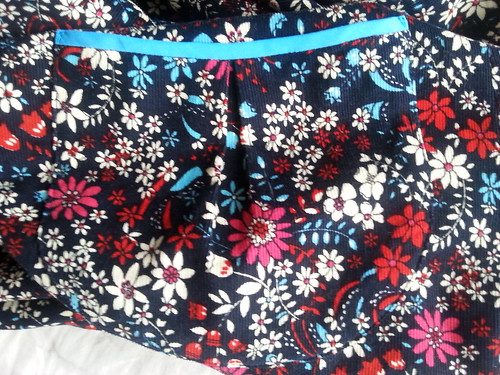
I made the pockets, but rather than having gathers across like the toile version, I put an inverted pleat in instead:
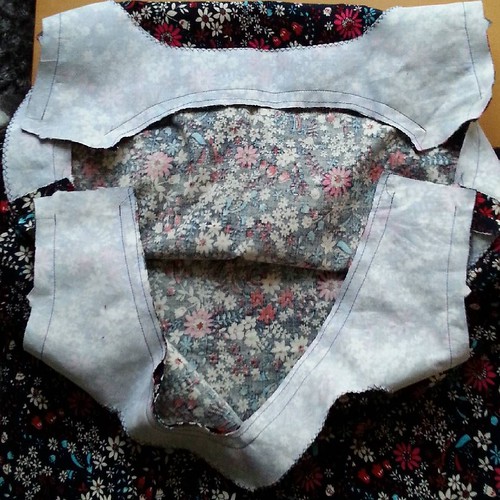
I stitched the side seams on both the dress and the facing, and then attached the facing to the dress:
I then clipped the curves, graded the facing seams, pressed them and understitched, before joining the outside shoulder seams by machine and the inside ones by hand.
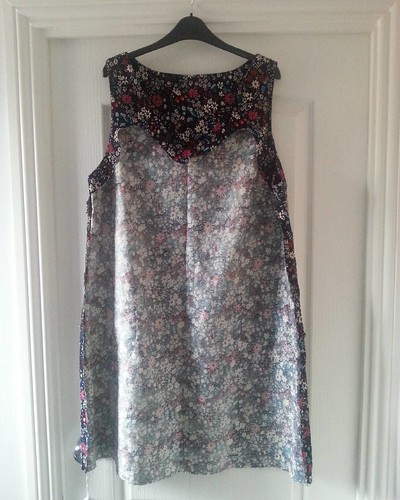
Then there was just the hem to do:
Once I'd established that it was hanging level (and therefore didn't need someone else to pin it for me), I turned up and pressed a 3/8" seam before turning up another 5/8" (so 1" in total) and stitched from the inside using the edge foot to keep me straight.
And here's how it looks on (I'm not good at selfies, as you can see!):
The only thing I need to do is get a longer petticoat, as there's about a 5" gap between the hem of those I have and the hem of the pinafore and it means the cord likes to walk up my (woolly) tights, which is a bit irritating.
I have some more needlecord to make another one, I just need to decide whether to keep the neckline the same or go for a rounder shape. Decisions, decisions!
I'll be linking up with the Finish-Along when the time comes:
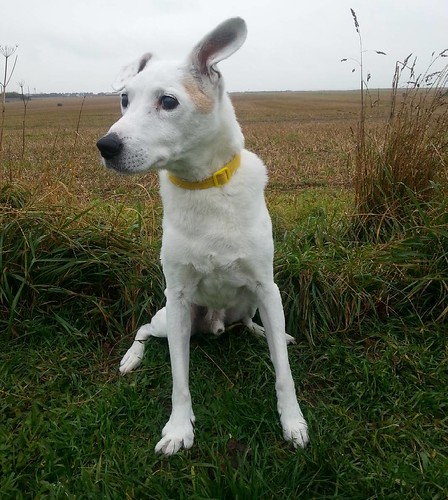
After making him pose for a photo in the lashing rain last week, I was surprised when Archie agreed to another outdoor photo shoot:
Thanks for popping in! I know I've been appalling at replying to comments, I promise to try harder!


it looks great! Well done :-D
ReplyDeleteThe pinafore dress is lovely, and suits you very well. One thought about the petticoat. When I was still living in England and making clothes for myself, I used to line only the front of a skirt that I knew would walk up my woolly tights, and that did the trick. Could you line the pinafore front from, say, the pockets down? These days my legs are bare 90% of the time, and my skirts stay where they're supposed to be :-)
ReplyDeleteThat looks really cool!
ReplyDeletePinwale cord has such a nice weight, doesnt it.
ReplyDeleteLooks great on you. Well done on the styling!
That's fab! I've progressed a bit more on mine, but am currently without a machine so it's stalled again!
ReplyDeleteI LOVE this dress. I think needlecord is the ideal Winter dress fabric but it always seems to be very expensive and hard to find with nice prints. This is perfect :)
ReplyDelete